
DIY Clothing Alterations: Tips to Perfect Your Fit at Home


Understanding the Basics of DIY Clothing Alterations
Clothing alterations can seem daunting, especially if you've never done them before. However, with a few basic techniques and tools, you can transform ill-fitting garments into perfectly tailored pieces. The key to successful DIY clothing alterations is understanding the basics and starting small.
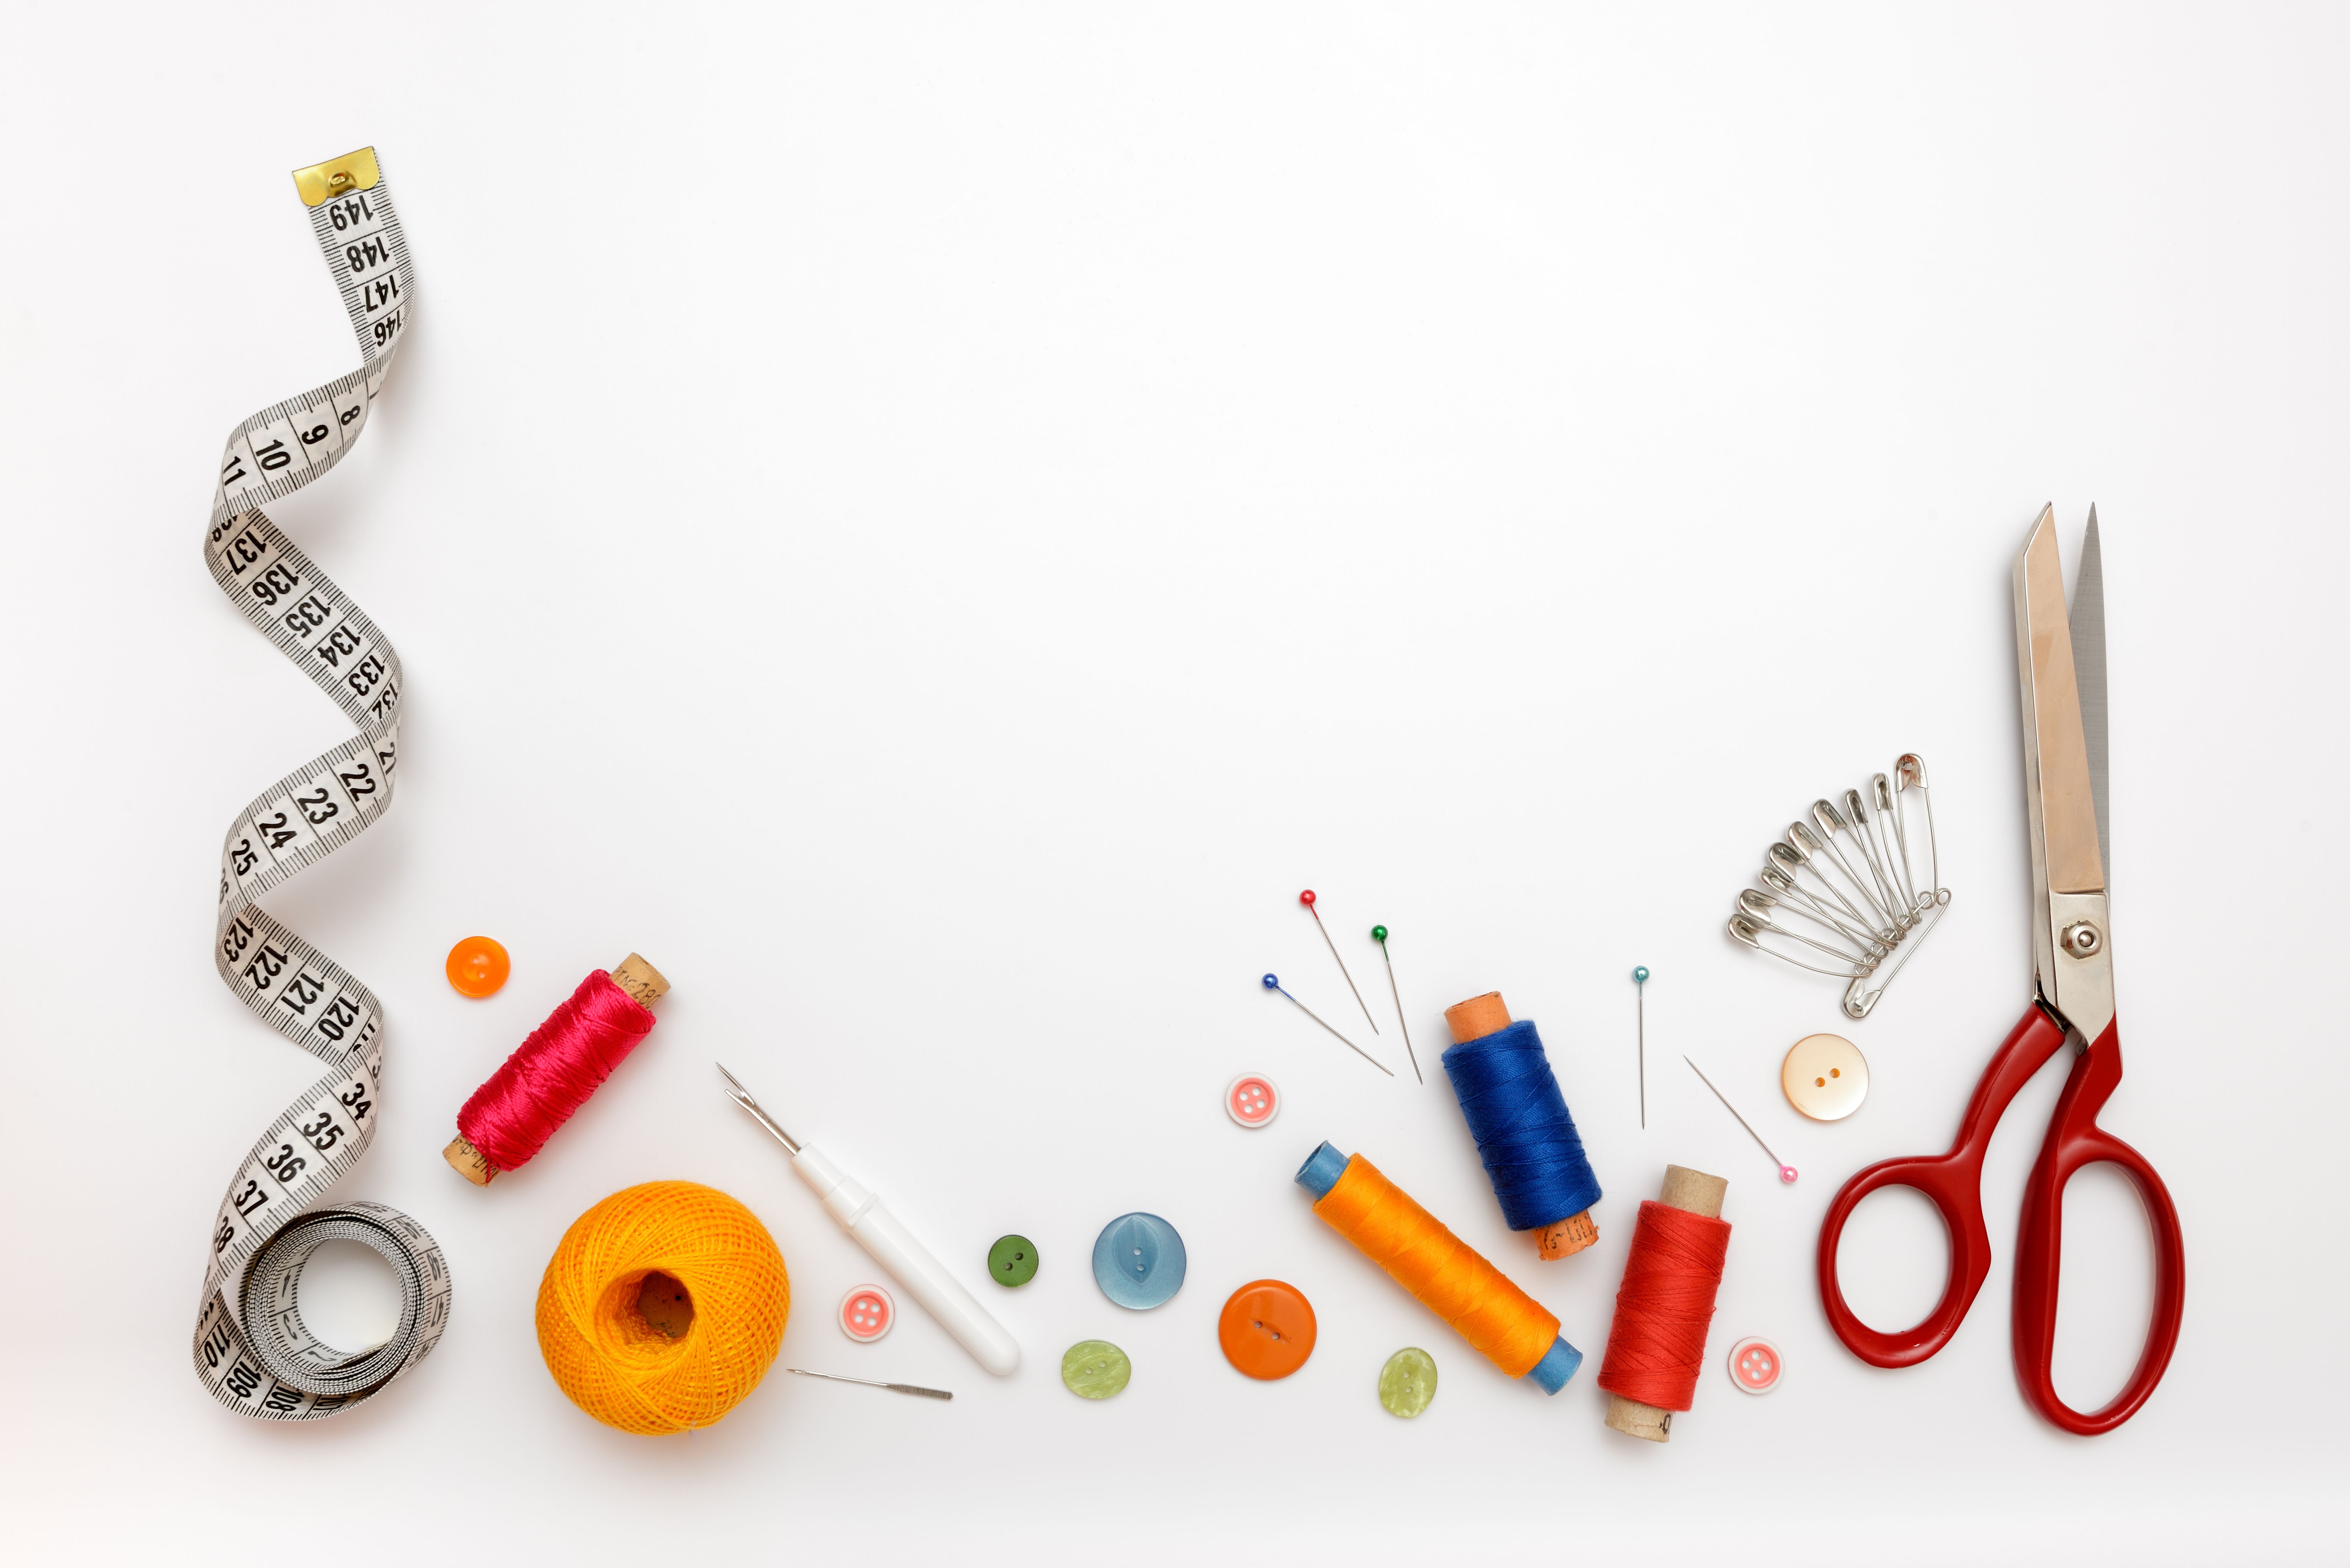
Before you begin, gather essential tools such as a measuring tape, fabric scissors, needles, thread, and a seam ripper. These items will form the foundation of your home alteration kit. As you gain confidence, you can add more specialized tools to your collection.
Choosing the Right Alterations
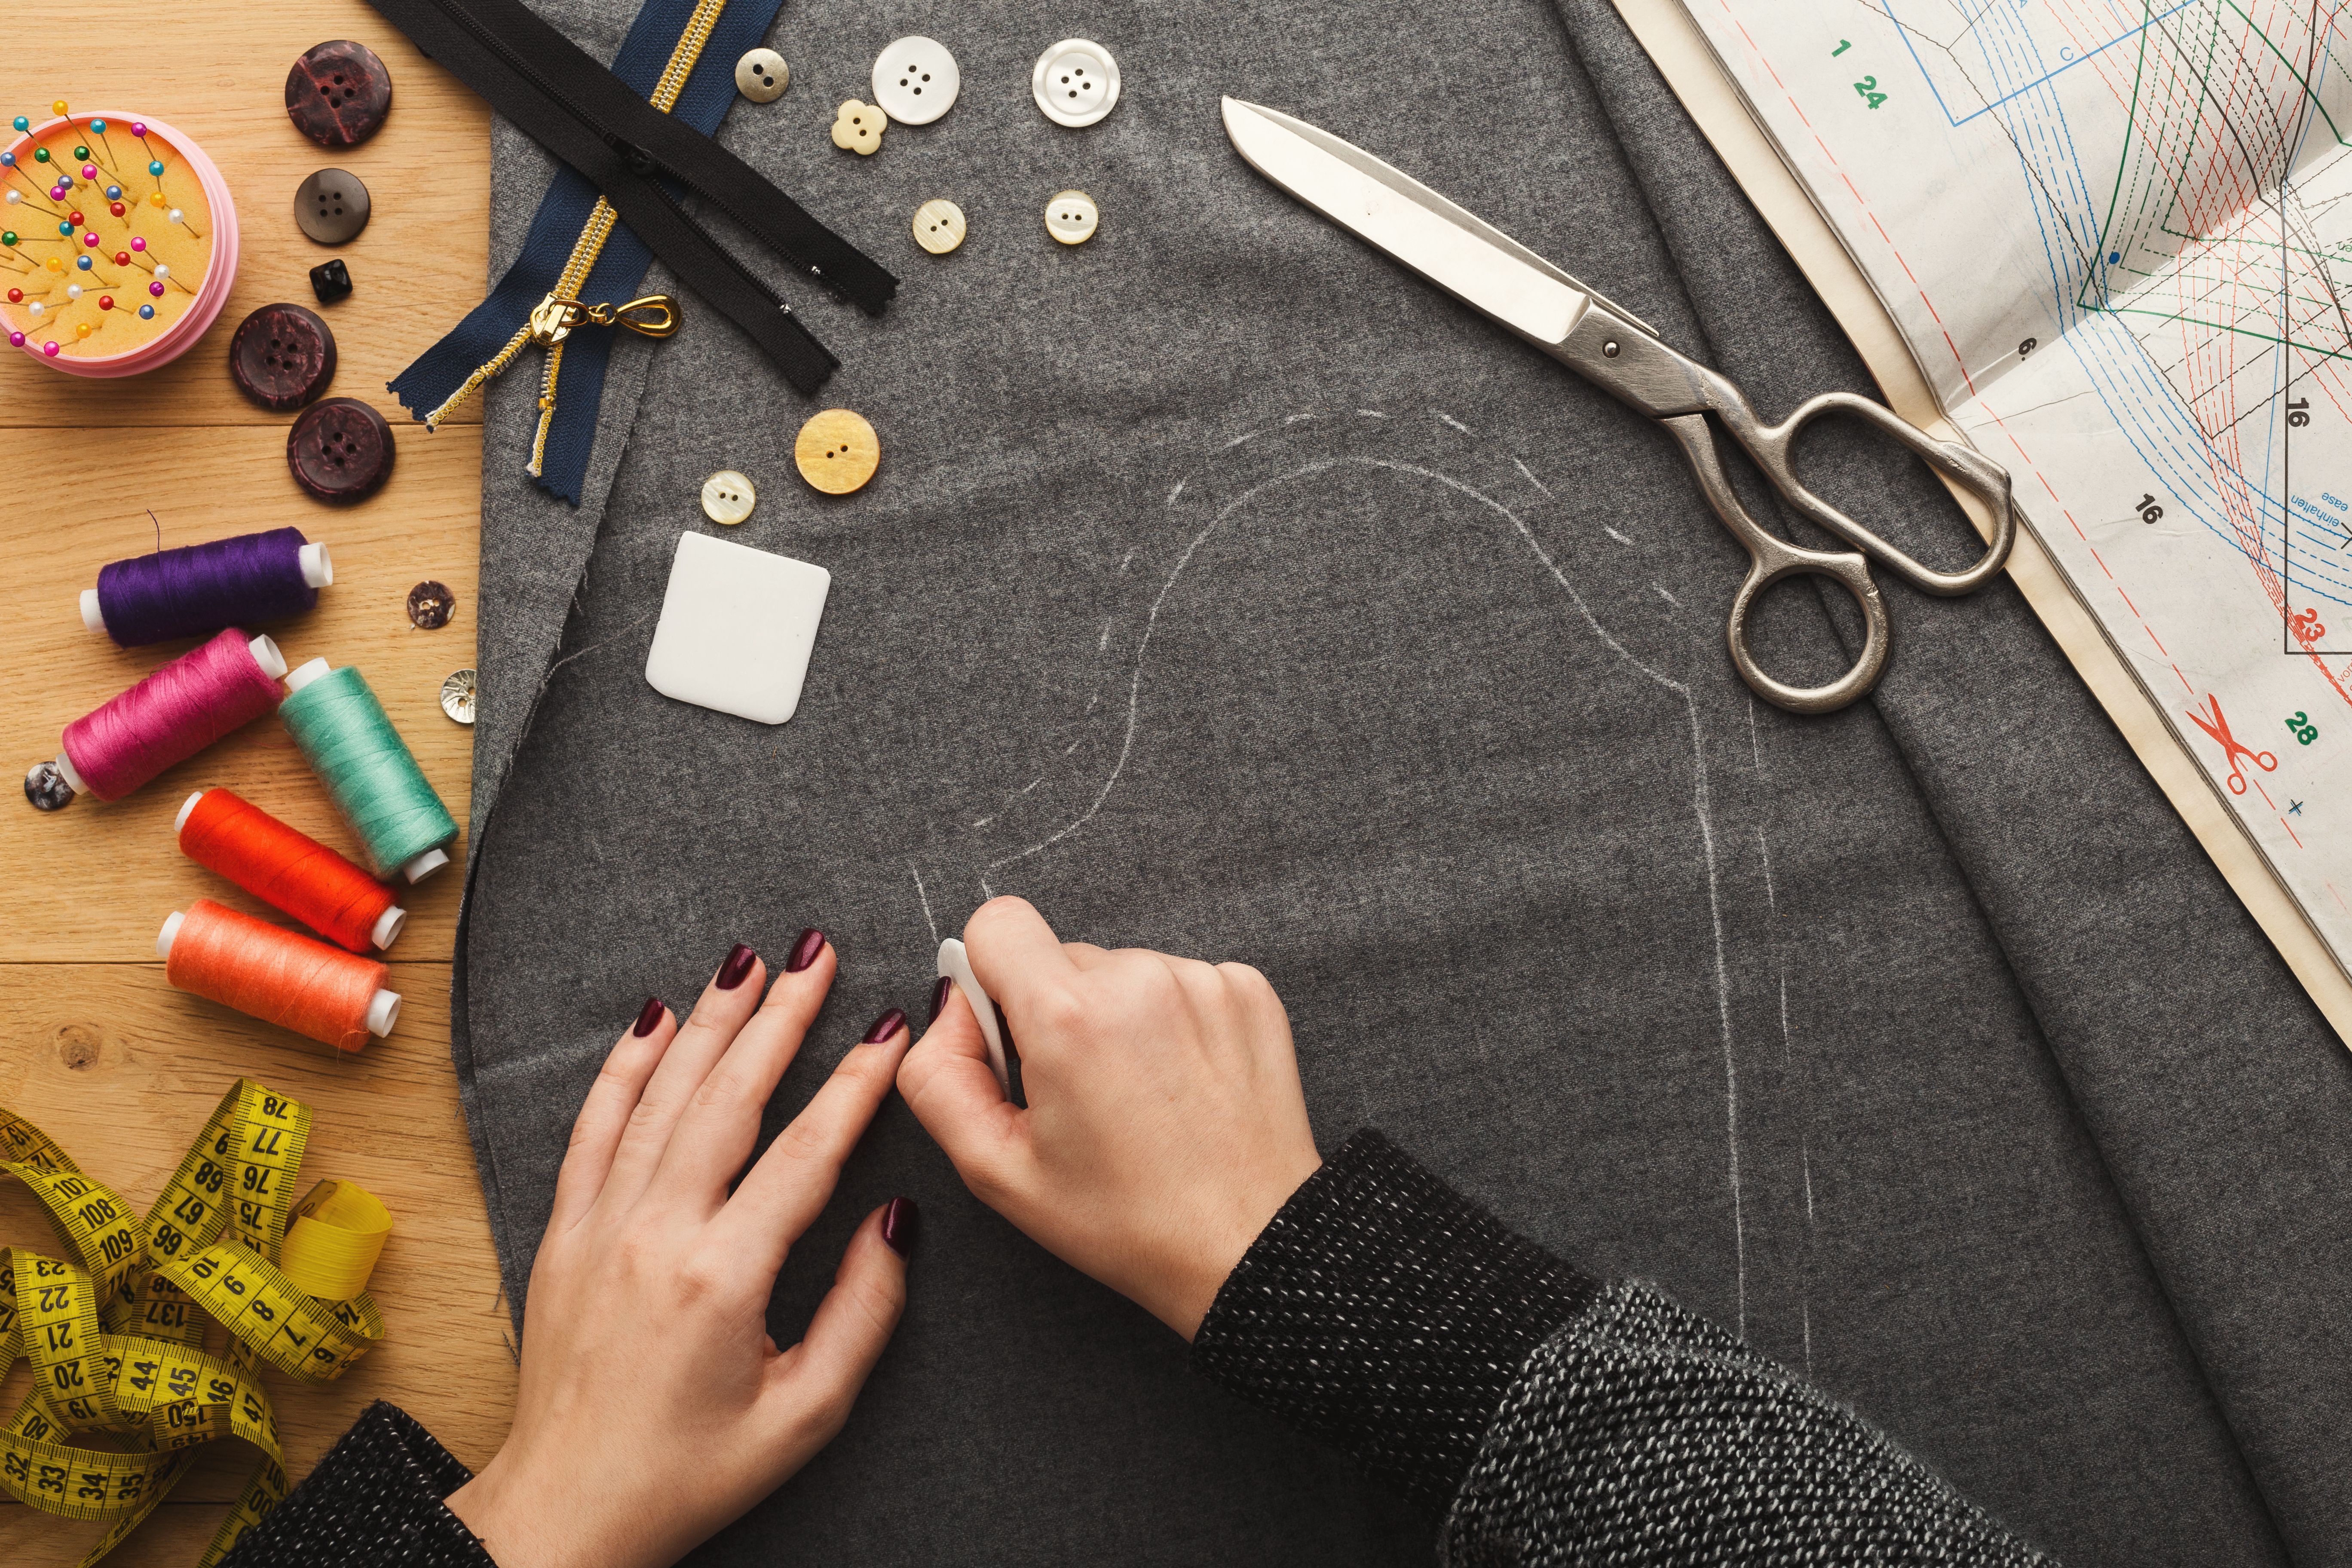
Not every piece of clothing will benefit from alterations. When deciding which garments to alter, consider the fabric type and the complexity of the design. Natural fabrics like cotton and wool are generally easier to work with than synthetics. Additionally, simpler designs with fewer seams are less challenging to alter.
Start with basic adjustments such as hemming pants or taking in a dress at the waist. These changes are straightforward and provide a good foundation for more complex alterations later on.
Step-by-Step Guide to Common Alterations
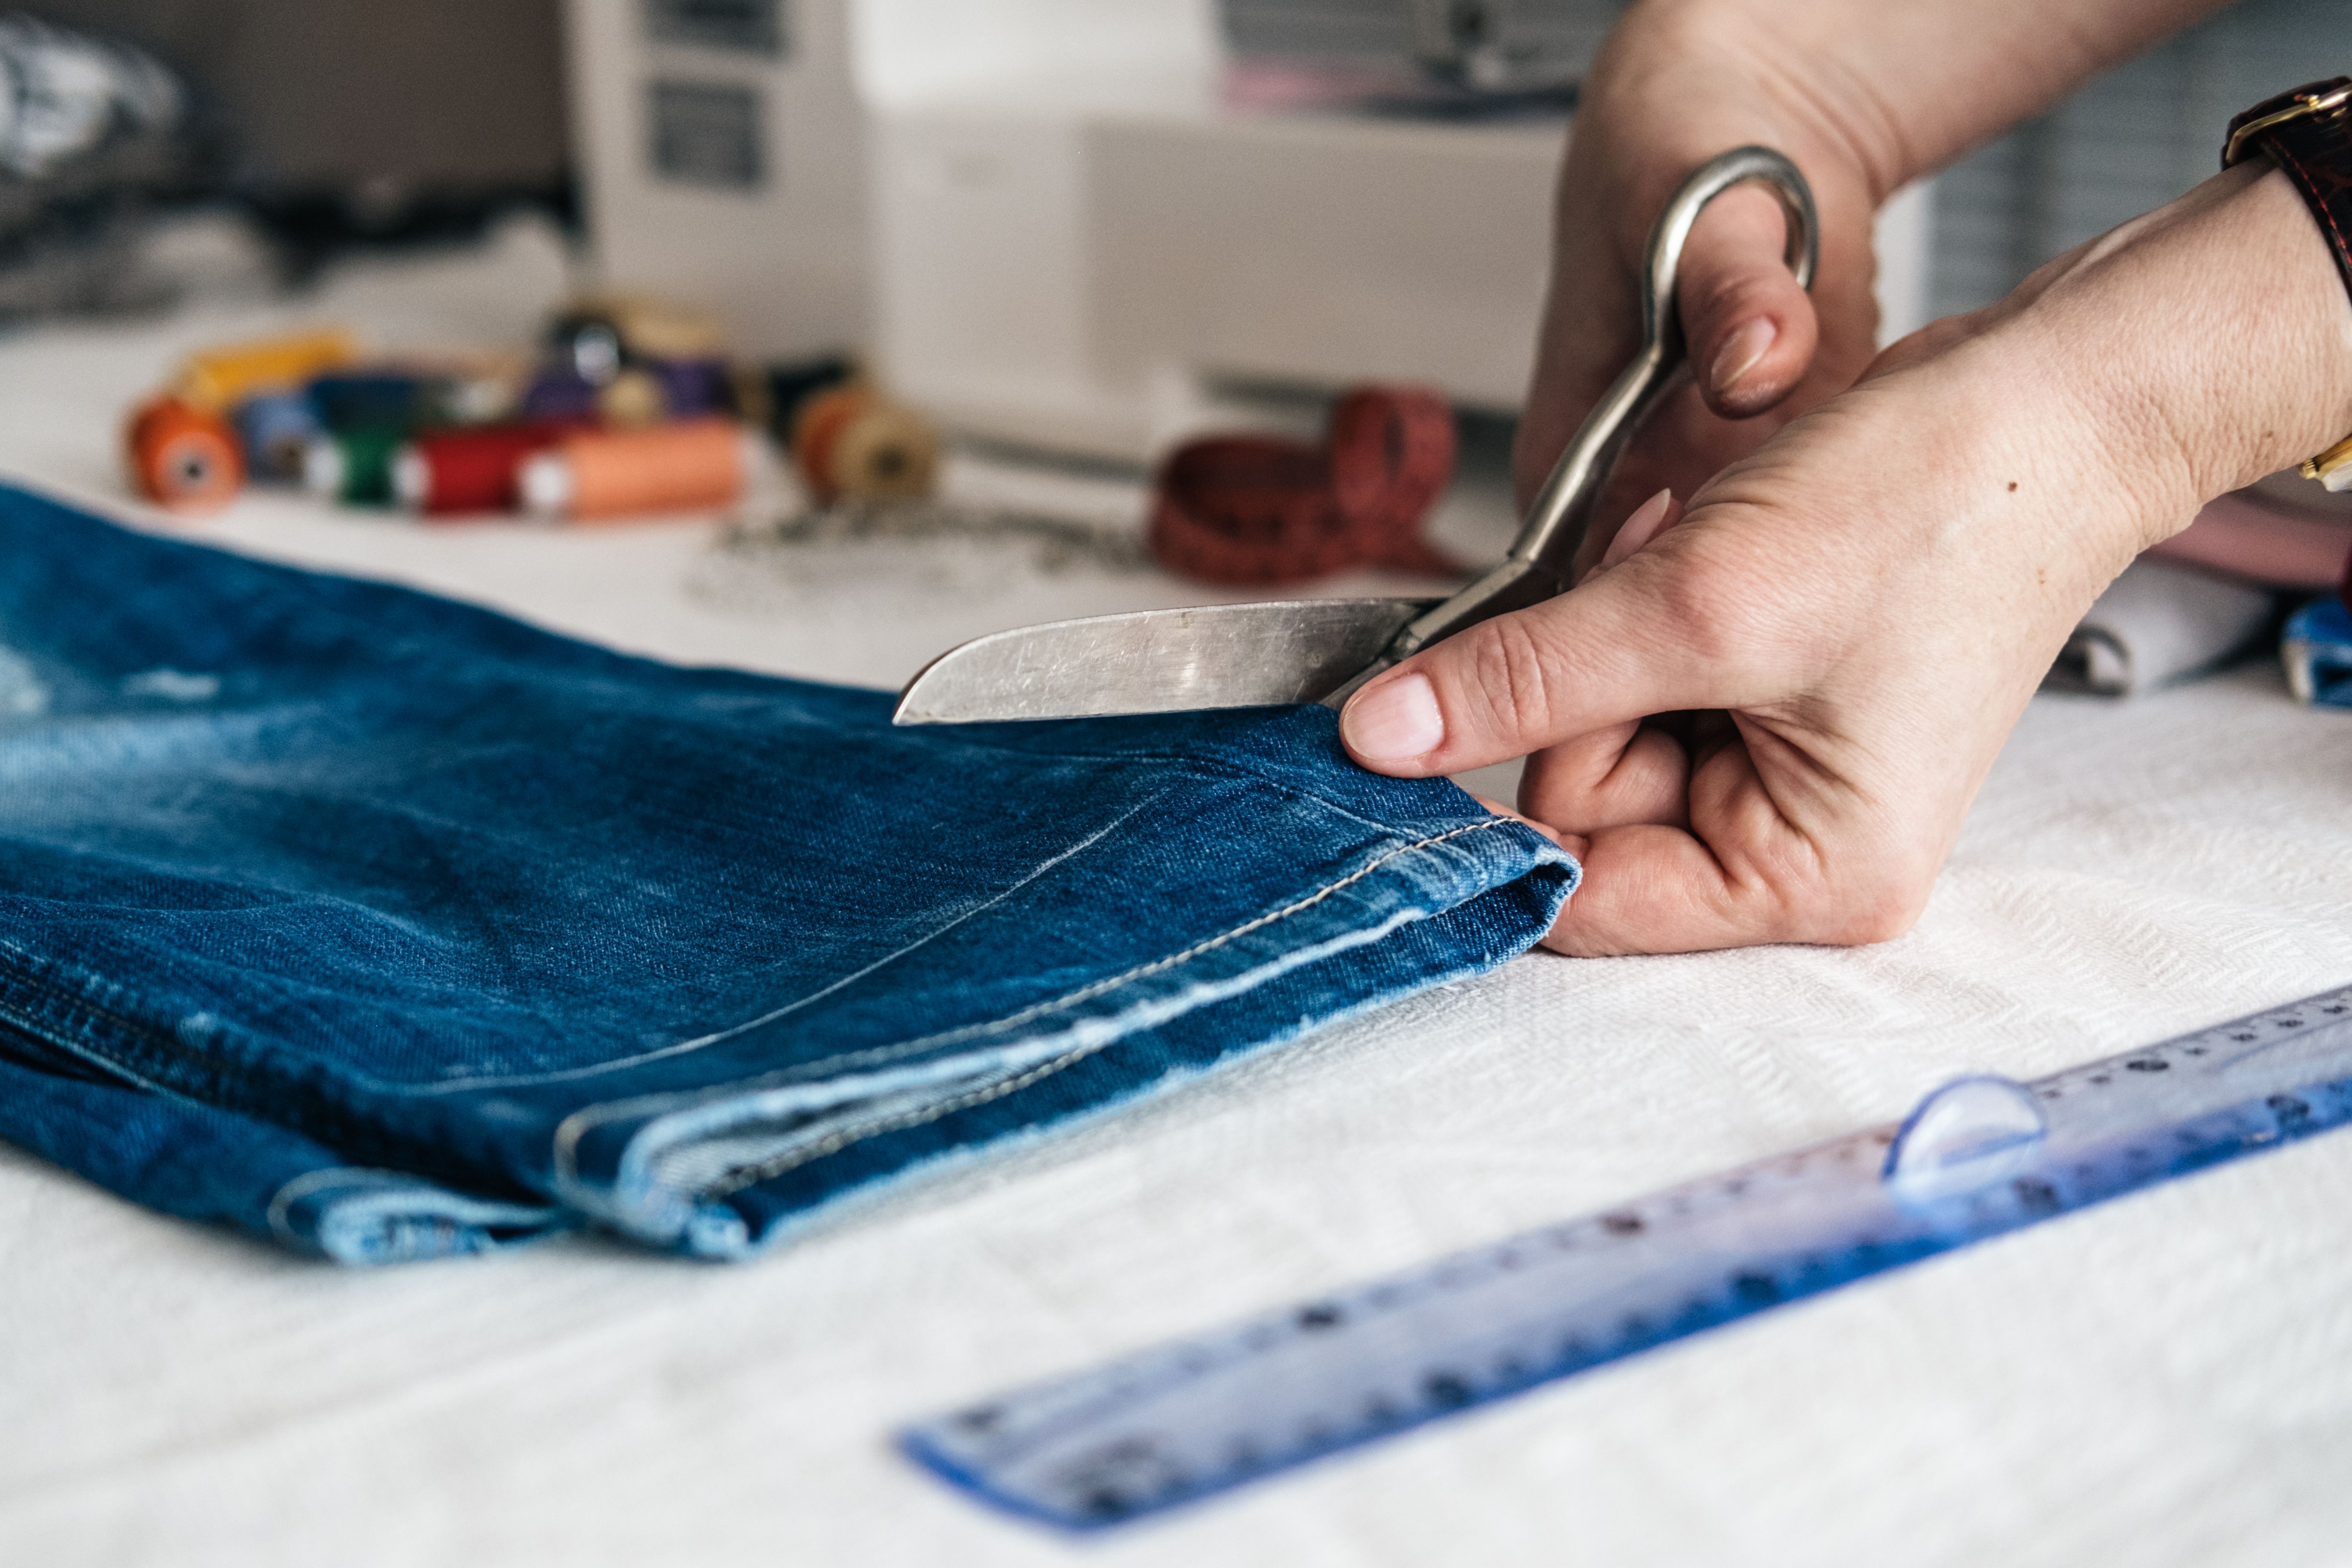
One of the most common alterations is hemming pants. To do this, try on the pants and mark the desired length with pins or chalk. Remove the pants and cut off any excess fabric, leaving an extra inch for the hem. Fold the edge up twice to hide raw edges, then sew along the fold.
Another popular alteration is taking in a garment at the sides. Turn the clothing inside out, pin along the side seams to the desired fit, and sew along the pinned line. Remember to try on the garment before cutting any excess fabric to ensure a perfect fit.
Tips for Sewing Success
Sewing requires patience and practice. Begin by sewing slowly to maintain control over your stitches. If you're using a sewing machine, familiarize yourself with its settings and test on scrap fabric first. For hand stitching, keep your stitches even for a professional appearance.
Always press your seams after sewing to set your stitches and give your garment a polished finish. A good-quality iron with adjustable settings is invaluable for achieving crisp seams.
When to Seek Professional Help
While DIY clothing alterations can save you time and money, certain alterations are best left to professionals. Intricate designs or delicate fabrics may require expert handling to avoid damage. If an alteration seems beyond your skill level, consult a tailor for advice.
The Benefits of DIY Alterations
Embracing DIY clothing alterations not only helps achieve a better fit but also extends the lifespan of your wardrobe. By learning these skills, you can make sustainable fashion choices and reduce waste by modifying existing garments instead of purchasing new ones.
Moreover, altering clothes yourself allows for a personalized touch, enabling you to express your unique style through custom fits and designs.
Conclusion: Embrace Your Inner Tailor
With practice and patience, anyone can master basic clothing alterations at home. Start with simple projects, build your skills over time, and enjoy the satisfaction of wearing perfectly fitted garments. Remember that each project is an opportunity to learn and improve.
Whether you're revamping old favorites or altering new finds, DIY clothing alterations offer both practical benefits and a creative outlet. So grab your sewing kit and start tailoring your wardrobe today!